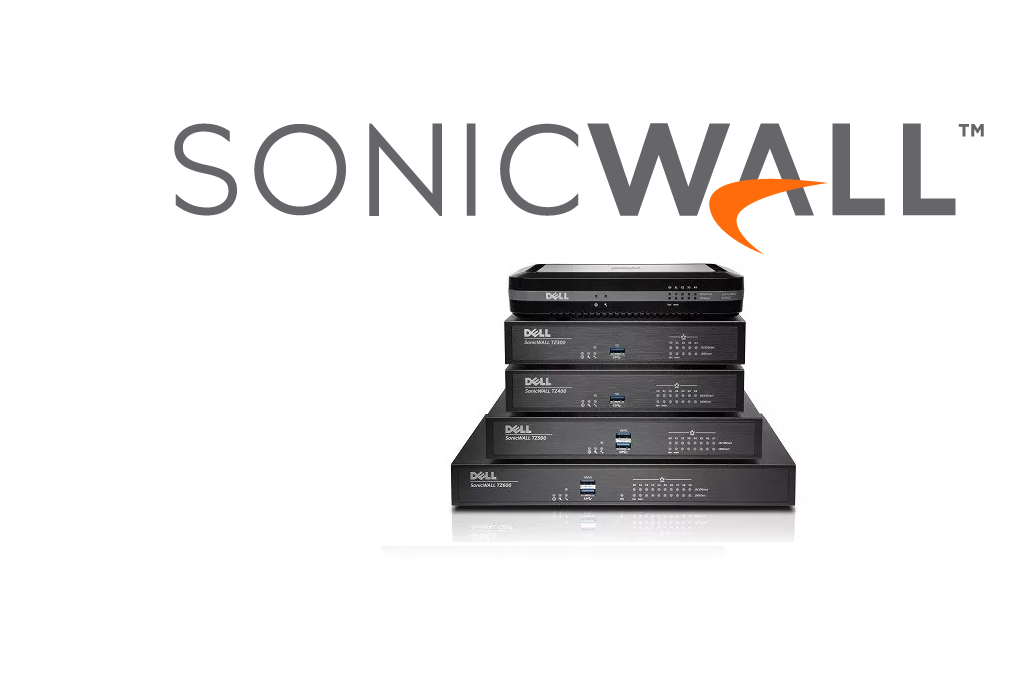
Instructions on how to set up your SonicWall TZ300 or TZ400 out of the box.
For IT professionals, deploying a new firewall is a critical task that impacts network security, traffic management, and business continuity. The SonicWall TZ series, including the TZ300 and TZ400, offers robust next-generation firewall capabilities for small to medium businesses. Out-of-the-box, these devices are easy to deploy, but following a methodical setup process ensures security, reliability, and optimal performance.
While the SonicWall first-time setup wizard is convenient, performing a manual setup allows IT teams to fully control configuration, especially in complex network environments. This guide provides a detailed walkthrough for connecting, configuring, licensing, and securing your SonicWall TZ300/TZ400.
Step 1: Physical Cabling and Network Topology
Correct cabling is fundamental to a successful deployment:
- Identify Ports
- X0 (LAN): Connects to internal network devices such as laptops, PCs, or a network switch.
- X1 (WAN): Connects to your ISP modem (Cable, DSL, or Fiber).
- Connect Devices
- WAN (X1) → Internet modem
- LAN (X0) → Laptop or switch
- Optional Topology Advice
- In environments with multiple VLANs, consider connecting a managed switch to X0 and segmenting traffic to isolate management from production networks.
- If possible, configure a dedicated management VLAN for firewall access.
Step 2: Accessing the SonicWall Web Interface
- Connect your PC to the LAN port (X0) with an Ethernet cable.
- Open a browser and navigate to https://192.168.168.168.
- Note: Some browsers require TLS settings adjustments to access the firewall web console.
- Login using the default credentials:
- Username:
admin - Password:
password
- Username:
- Immediately change the admin password:
- Navigate to System → Administration
- Use a strong password (12+ characters, mix of letters, numbers, symbols)
Pro Tip: Avoid using the default password even temporarily in production environments. Consider enabling two-factor authentication for added security.

In these instructions we will choose to perform our SonicWall Setup manually
If you cannot access the page you may need to change TLS setting within your browser settings

Login using default
Username – admin
Password – password


You can reset this password immediately under System -> Administration
Connect Sonicwall to modem via X0 Wan port
Step 3: Configuring the WAN Port
Depending on your ISP, the WAN interface can be configured in several modes:
- DHCP (Dynamic IP): Automatically obtains IP from ISP. Ideal for most cable or fiber connections.
- Static IP: Use when your ISP provides a fixed public IP. Enter IP, subnet mask, gateway, and DNS manually.
- PPPoE (DSL): Requires ISP-provided username and password. Common in DSL connections.
- PPTP: Enter server IP, username, and password for certain legacy VPN connections.
Pro Tip for IT Professionals:
- Enable Failover/Load Balancing if multiple WAN connections are available.
- Set up DNS settings manually for better reliability rather than relying on ISP defaults.
Step 4: Configuring the LAN
- Ensure your LAN subnet does not conflict with your ISP-provided WAN IP.
- Adjust DHCP settings if the firewall will serve as the DHCP server:
- Navigate to Network → DHCP Server
- Configure the address pool, lease duration, and reserved IPs for critical devices (servers, printers, management PCs).
- Consider segmenting networks using VLANs if you have multiple departments or a DMZ for public-facing servers.
Expert Insight:
For IT teams managing multiple branches, standardizing LAN subnets across sites simplifies VPN and routing configurations.
Step 5: Registering and Licensing Your SonicWall
- Visit www.mysonicwall.com and log in or create an account.
- Navigate to My Products → Register Product and enter:
- Serial number
- Friendly name
- Authentication code (found in System → Status on the firewall)
- Once registered, generate the registration code and apply it in the firewall’s web console.
Why This Matters:
Proper registration ensures firmware updates, technical support, and access to security services such as Gateway Anti-Virus (GAV) and Intrusion Prevention (IPS).
Step 6: Enabling Firewall Security Features
After basic connectivity, configure core security features:
- Enable Intrusion Prevention System (IPS) for threat detection
- Enable Gateway Anti-Virus and Anti-Spyware
- Enable Content Filtering if required for your environment
- Set up Access Rules: Define inbound/outbound rules for LAN-WAN traffic
- Configure VPN: Site-to-site or client VPN if remote access is required
Best Practice:
Start with a restrictive default policy, then open necessary ports for applications, rather than leaving default permissive rules.
Step 7: Backup and Disaster Recovery
Before making additional changes:
- Navigate to System → Settings → Export Settings
- Save the configuration file to a secure location
- Repeat after major configuration changes
Pro Tip:
Automate periodic backups and store them off-site for disaster recovery. This ensures quick recovery in case of hardware failure.

Step 8: Advanced Tips for IT Professionals
- High Availability (HA): For mission-critical environments, consider active/standby HA pairs for TZ300/TZ400 firewalls.
- Logging and Reporting: Enable Syslog integration with a centralized logging server for auditing and monitoring.
- Firmware Updates: Keep firmware current, but test in a lab environment first to avoid breaking custom rules.
- Management Access: Restrict management access to a specific VLAN or IP range. Avoid exposing the web interface to the Internet.
- Performance Tuning: Enable traffic shaping/QoS for critical services like VoIP or video conferencing.
Step 9: Final Verification
After setup, verify:
- WAN connectivity and public IP
- LAN connectivity and DHCP leases
- Firewall rules enforcement
- VPN connectivity (if configured)
- Security services (IPS, AV, CFS) are active and up to date
Expert Advice:
Document all settings, including passwords, IP ranges, DHCP reservations, and VPN details. This reduces downtime during troubleshooting or staff changes.
Conclusion
Properly setting up a SonicWall TZ300/TZ400 firewall goes beyond plugging in cables. For IT professionals, taking the time to configure LAN/WAN, register and license the device, enable security services, and implement backups ensures a robust, secure, and maintainable network infrastructure.
Following the steps above not only guarantees immediate functionality but also establishes a strong foundation for future scalability, VPN connectivity, and advanced security deployments.
By combining manual configuration expertise with best practice security measures, IT teams can fully leverage the capabilities of the SonicWall TZ series and ensure both performance and protection in today’s dynamic network environments.

From my early days on the helpdesk through roles as a service desk manager, systems administrator, and network engineer, I’ve spent more than 25 years in the IT world. As I transition into cyber security, my goal is to make tech a little less confusing by sharing what I’ve learned and helping others wherever I can.
